If you want to install Windows 11 on a new device, you’re likely to need a bootable USB drive, and here are two ways to create one.
How to create a bootable USB of Windows 11 with the Media Creation Tool
The Media Creation Tool is the easiest method to create a bootable media to upgrade or clean install Windows 11.
To create an installation media with the Media Creation Tool, connect a USB flash drive of at least 8GB of space, and use these steps:
- Open Windows 11 download page.
- Under the “Create Windows 11 Installation Media” section, click the Download now button to save the file on the device.
- Double-click the MediaCreationToolW11.exe file to launch the tool.
- Click the Accept button to agree to the terms.
- (Optional) Clear the Use the recommended options for this PC option.
- Select the correct language and edition of Windows 11.
- Click the Next button.
- Select the USB flash drive option.
- Click the Next button
- Select the USB flash drive.
- Click next then finish
How to create bootable USB of Windows 11 with Rufus
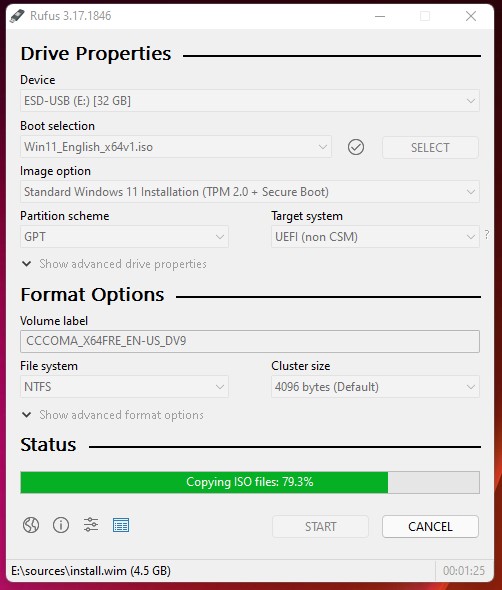
To create a USB media with an existing Windows 11 ISO file, connect a flash drive of at least 8GB of space, and use these steps:
- Open Rufus download page.
- Under the “Download” section, click the link to save the latest release on your device.
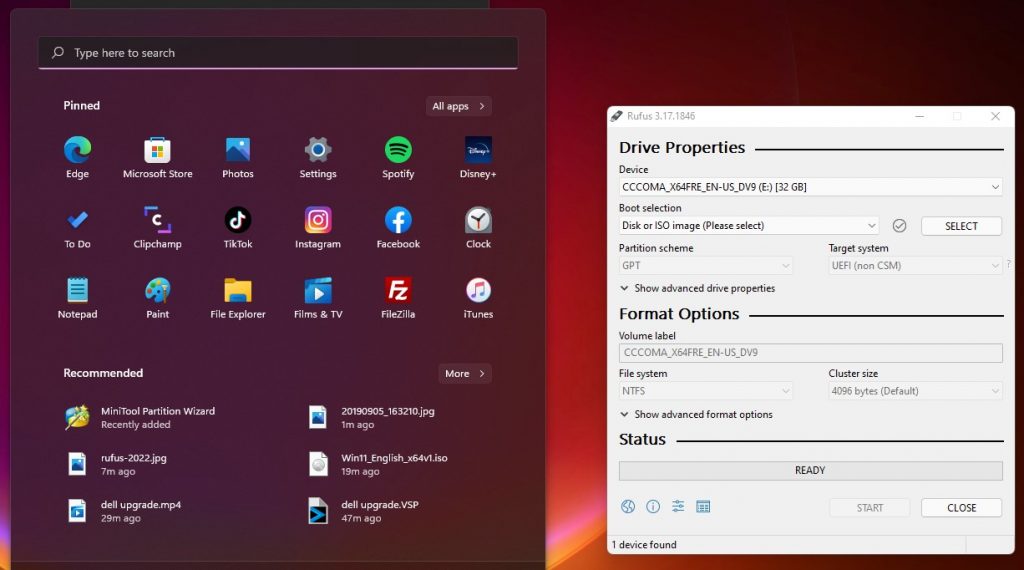
- Double-click the Rufus-*.exe file to launch the tool.
- Under the “Device” section, select the USB flash drive.
- Under the “Boot selection” section, click the Select button on the right side.
- Select the Windows 11 ISO file from the folder location.
- Click the Open button.
- Use the “Image option” drop-down menu and select the Standard Windows installation (TPM 2.0, Secure Boot) option.
- Use the “Partition scheme” drop-down menu and select the GPT option.
- Use the “Target system” drop-down menu and select the UEFI (non CSM) option.
- Under the “Show Advanced drive properties” section, do not change the default settings (unless you know what you are doing).
- Under the “Volume label” field, confirm a name for the bootable media — for example, “win11_usb.”
- In the “File system” and “Cluster size” options do not change the default settings.
- Click the Show advanced format options button.
- Check the Quick format option.
- Check the Create extended label and icon files option.
- Click the Start button.
- Click the OK button to confirm.
- Click the Close button.


You must be logged in to post a comment.